Building Block: Chicken Broth!

Sheltering in place? Self-isolating? Working from home like you always do? Or, my favorite floating around twitter, merely “exiled to your country estate for the good of the realm?” (No idea who started that, but I like it.) Make broth!

It’s what I’m doing anyway (in between laundry, sweeping, and writing!). If you’ve got time on your hands at home and you need something that is easily freezable, healthy, and soothing to the stomach, then now is the perfect time to start making broth. In our house, it’s usually chicken, since I always have bones and some vegetal odds and ends in the fridge.

I know there are fancier recipes out there, and it seems like everyone has their own personal broth recipe. It can get bewildering! Which one is best? Which one is the most healthy? I don’t really have the answer to that, but I can tell you what I think. To wit, the best broth is the easiest. It should meet your needs for taste and content, and it shouldn’t take a ton of your attention. You should be able to put it in a large pot, turn the heat to medium-low and forget about it for an hour or so.

My recipe for broth works for my family. I find it flavorful, nourishing, and really good for when I don’t feel well, or I need a quick meal. I generally make a huge amount and then freeze some, or use it up throughout the week. Please think of it as a starting recipe, and adjust for your or your family’s needs accordingly!

You’ll Need (Serves 4-8):

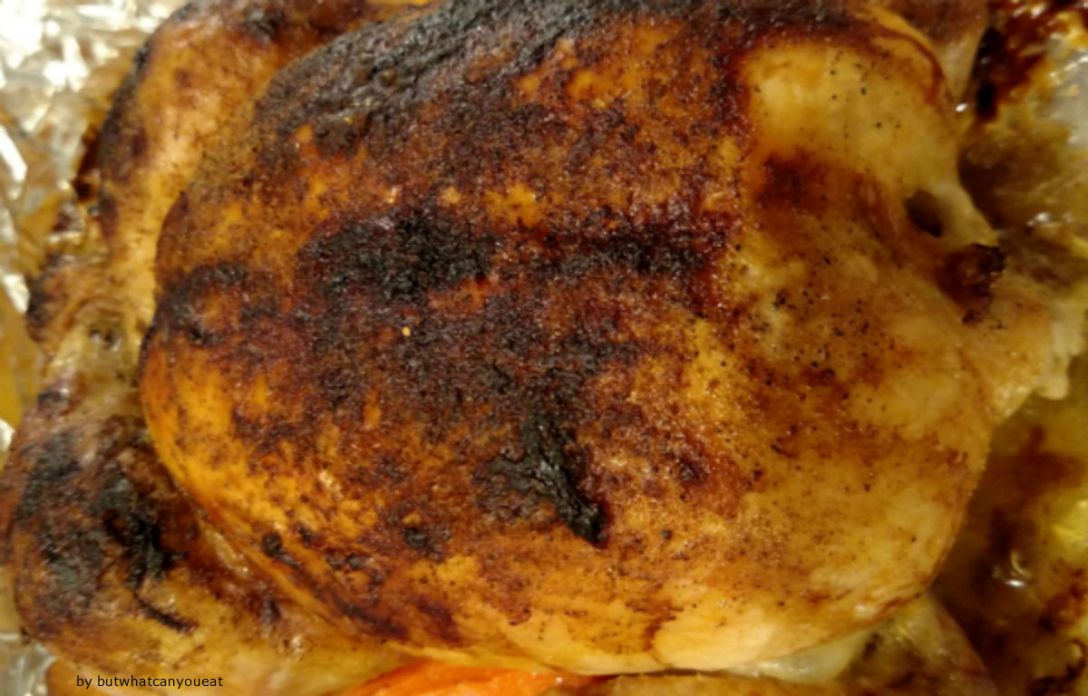
1-2 chicken carcasses (I know people who get whole chickens just for broth. I do not understand that, but it must be nice to have money. Just use leftovers!)

1 small knob of ginger, peeled, or 2 tsps. ground

2 tsps. lemongrass, or 1 handful of lemon thyme

3 cloves garlic

1/2 onion

1 tsp. sage

Salt and Pepper

2 stalks of celery

2 medium carrots

1 small handful of parsley (optional)

1 tsp olive oil

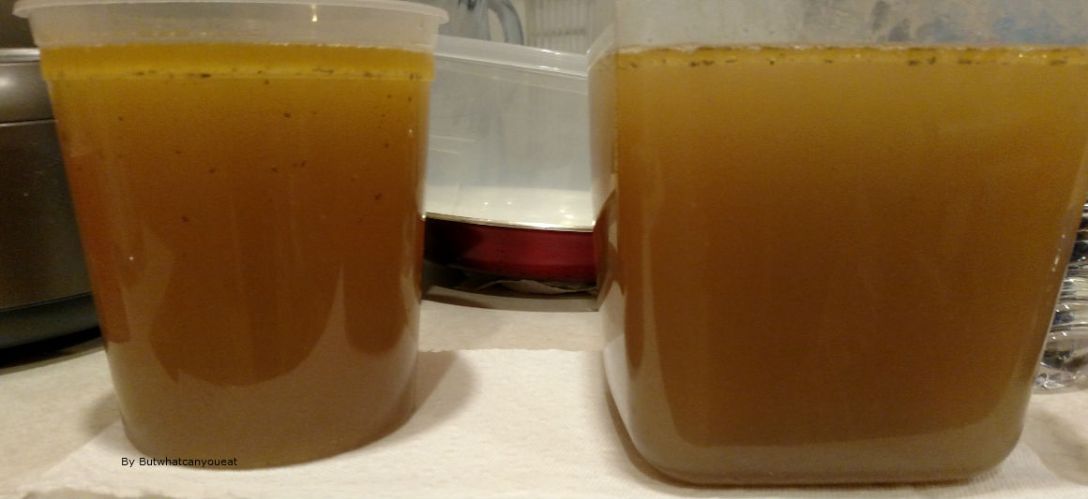
Stick all your ingredients into a large pot and let it heat on medium until you hear it begin to sizzle and a slight crust forms on the bottom of the pot. Add a little water and scrape up the crust. Fill the pot with water until it covers all your ingredients, and then let it come to a slight boil. Once it starts to bubble up, decrease the heat to medium-low or medium. You want the top to be bubbling, but not a fast or rolling boil. Leave it for one-two hours or until the water turns into a deep golden broth. I generally let the water boil down by half, because I want to make sure the collagen comes out of the bones and forms that healthy ‘jelly-like’ texture you see in bone broth.

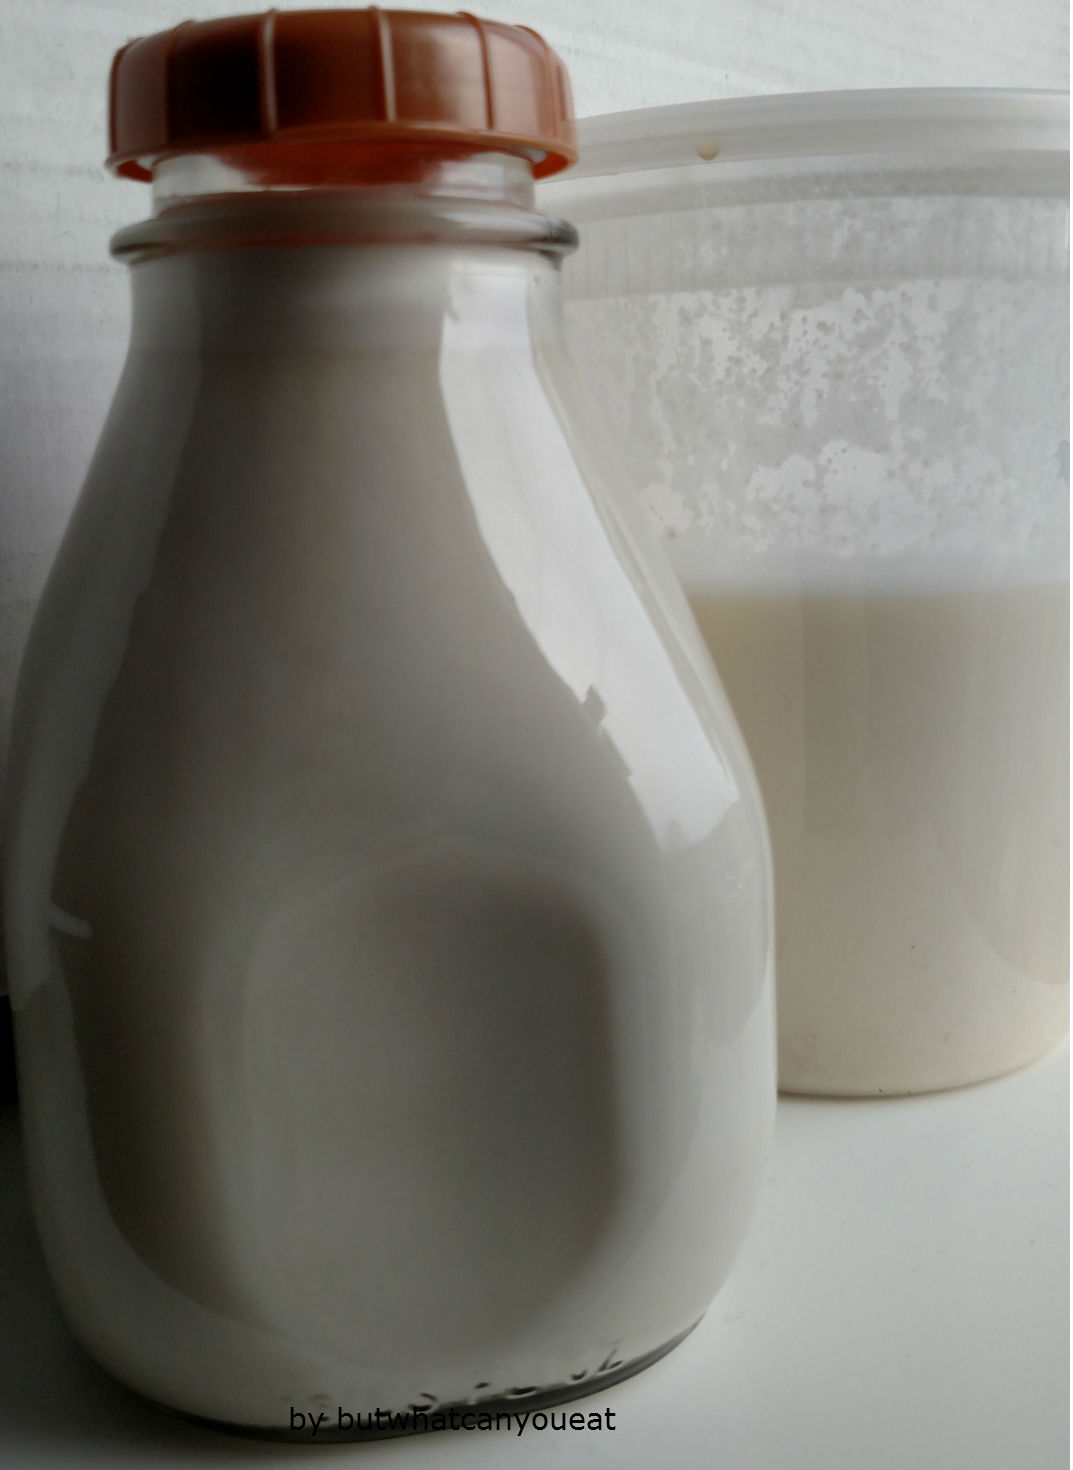
Remove the pot from the heat and let it cool down, and then strain the ingredients out, and pour the broth into lidded tupperware or glass. Let it cool for about five minutes on the counter, and then sling it in the fridge. Basically, anything with a lid. If you want to freeze some, always remember to refrigerate first! Let it cool completely in the fridge to avoid bacterial growth once you start lowering the temperature.

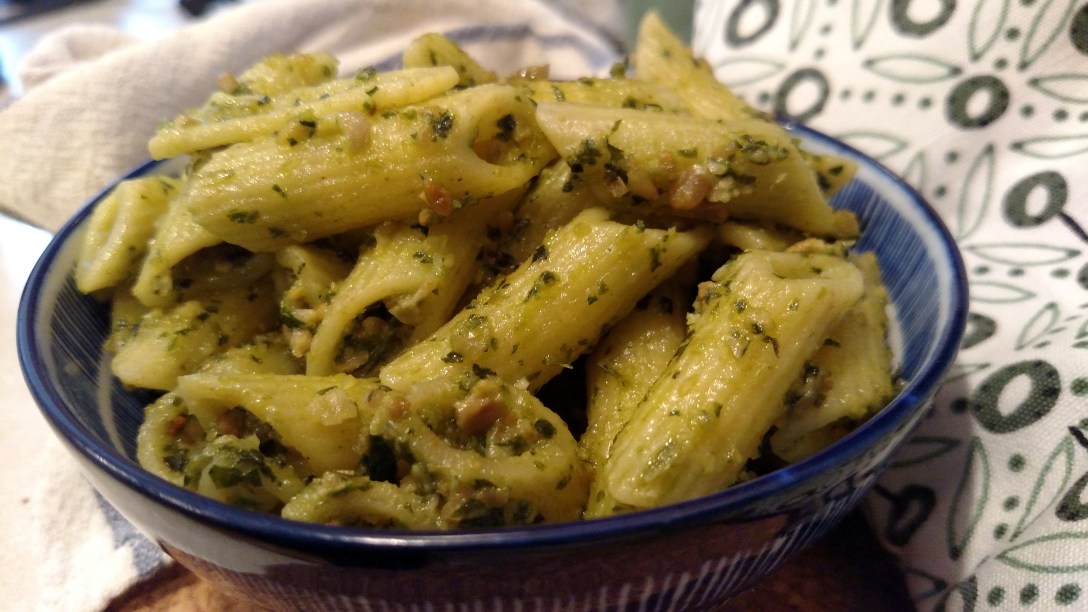
Then, make soup, make rice with it, make a fantastically yummy sauce! We’re all stuck in our houses in the interests of our loved ones and our community. Take a moment to make yourself something nice, and if you have to go out, remember to take care of yourself!

Additional Comments:

  • Lots of people tell you to sieve off the foam that appears when the bones are heated. I never do! It doesn’t matter, and I can’t be bothered. Removing it will make the broth more clear, but I honestly don’t see the point and can’t taste the difference. As a person allergic to eggs, clear broths are rather my nemesis, as a common way to get that clarity is with an egg white ‘float’ to catch all the stray proteins. Always ask if you’re not sure!
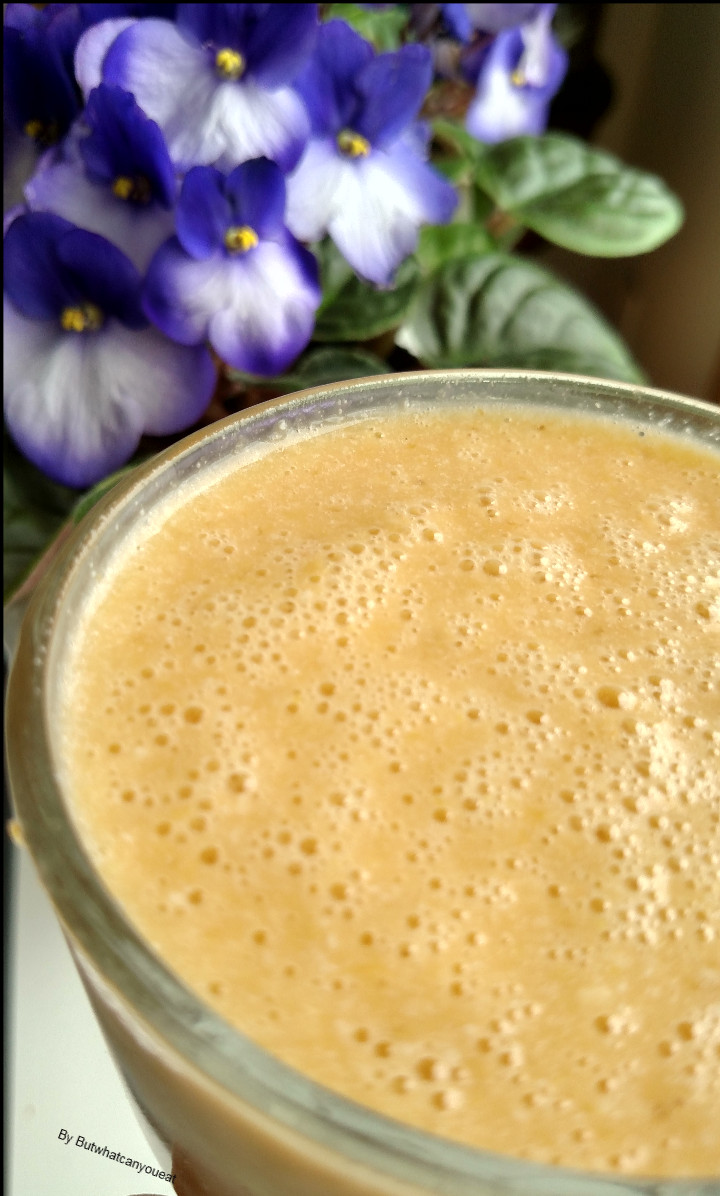
  • I sometimes have this for breakfast either to jazz up leftovers (which is what I usually have for breakfast) or as a great way to make a smoother mashed root vegetable puree

Cucumber Tomato Salad

Sometimes what you need is a quick, bright splash of acid with a decent crunch, a salad to complement something fatty like lamb, or heavy like a red Thai curry. Also, sometimes you realize you have the end of one sad English cucumber and a box of cherry tomatoes you forgot about and it’s time to either fish or cut bait. And lo! A salad is born!

Winter is not my prime season for salads. If you live somewhere without the darkest days of the year (Say…California where it gets down to fifty and people reach for their woolens) you might not have the same urge to eschew all cold foods and sink into soups, stews, and baked sweet potatoes until you’re as fluffy as the mashed potatoes you just ate. I know they’re good for me, but they’re cold, and I’m cold; my core temperature is going to win out every time.

But when the weather starts warming up, my fickle eye turns towards fresh vegetables once more. This can be a bit tricky (when isn’t it when eating with food allergies?) because a lot of fertilizers or sprays that extend the life of fruits and vegetables can be derived from corn or soy. If you have a sensitive allergy, the produce section is always a minefield.

I don’t have a dedicated vegetable garden, so I rely on my local supermarkets. So far, it’s been without any incident. I’m always careful to go for foods that have some dirt on them, a sign that they probably haven’t been washed or sprayed with something to make them more attractive, and if there’s a rind I generally don’t eat it, even if it’s edible. Thus, I can still have apples and citrus fruits.

In regards to tomatoes and cucumbers, I’ve had good luck. I generally get tomatoes on the vine, though in this case we had a punnet of cherry tomatoes, and the cucumber came from Trader Joe’s so I felt a little better about my chances. As always, approach food from new places with caution until you’re sure you won’t be affected.

Back to the food, this salad has good sharp flavors that wake my tongue up from its winter slumber, and the acid from the rice wine vinegar makes a fantastic complement to the more subtle flavor of the cucumber. I like it with rice and curry, but you could also have it alongside a sweet potato and garlic spinach, or Lemon Paprika Chicken and rice stuffing. It punches up a heavy dinner or makes a great addition to a light lunch. I hope you like it!

You’ll Need (serves 2 -4):

1 English cucumber, diced

2-3 medium tomatoes or a good handful of cherry tomatoes, diced or sliced in half

2 – 3 Tbsp. olive oil

2 Tbsp. Rice Wine Vinegar

1 clove garlic, minced, or a good shake of garlic powder

1 green onion, diced (optional)

A good shake of sesame seeds (optional)

Salt and Pepper

Cut up your vegetables, and place them in a bowl or container with a tight lid. Add the oil, vinegar, salt and pepper. Close the lid on the bowl and give them a good shake so that everything mixes easily. Can be served immediately, or placed in the fridge to marinate. Lasts about a week, but I would recommend taking it out of the fridge a few minutes before serving, to allow the olive oil to become liquid again.

Building A Pantry: So Far, So Good

First of all, take a deep breath. I’ll do it, too!

There, now we can start. It’s so frustrating seeking an equilibrium between what we want to eat and what we can eat, and some of us have such a restricted diet that it barely seems worth the effort at all. Sometimes, I have texted my friends to remind me to have lunch simply because I was relegated to eating the same piece of bland chicken for every meal, and I was simply done. I was just over the entire experience; I didn’t want to eat anymore, and I certainly didn’t want to eat the same three foods over and over again. I did it anyway, as you can probably guess, but my relationship with food was pretty rocky there for awhile.

It took me a long time to get excited about food again–or at least it felt rather long to me, I love to eat!–But once my body stopped breaking out in hives and those hard bumples that itch and you can’t scratch them, and I started accepting my allergies as a new normal, I realized I needed a new strategy.

Enough with the self-defeat, and onward to the cookies!

As you can see from my top picture, my pantry is shared, which means there are a lot of items in it that I can’t eat (there’s even polenta! Really not my go to dinner, guys.) That changes what I do when I’m cooking, and when I’m thinking about what to buy. Not merely what I eat, but how it’s stored and what makes my food area as well as my food intake as safe as possible. What helped me start to think creatively about food again is because I decided to keep one thing in mind, and I’m going to share it with you: So Far, So Good.

Keep that phrase in mind, all right? It isn’t trite, and it isn’t meant to make you feel bad about what you’re not eating or what you can’t. The items you put in your pantry are the ones that allow you to eat without having a reaction, that work for you. No matter how restricted your diet: So Far, So Good.

We’re making our food spaces safe for us, in as much as we are able, and that’s no small feat. To help out, here are some steps you can take to begin building your pantry:

  • Take stock of all the items in the pantry.
    • All of them, from the 1/4 cup of mystery spice blend to the cans to the five pound bag of flour you just bought, because it’s time to put your literacy to the test, and read your labels. You need to know what you’re eating, even down to the hidden ingredients the companies put under more scientific names.
      • Pectin, for instance, is often derived from corn. That means I shouldn’t have anything with pectin in it, like jam or jelly. So all those delicious jars automatically belong to other people now!
    •  Everyone should also pay attention to the “may includes” printed in tiny fonts which I assume they all hope we’ll miss. If you have an allergy, and you see that little line on the back of the almond butter container: “May include…” or “Made in a facility that also processes…” then beware!
  • Consider the entire household
    • If you live with someone who isn’t allergic to what you’re allergic to, then you have to think about what that means for everyone in the house.
      • Is your allergy airborne?
      •  Can you handle the inevitable cross-contamination in a home kitchen?
        • It’s not always as simple as, for instance, making sure you grab the coconut milk creamer rather than the half ‘n half first thing in the morning. While you might get away with segregating items from each other, what does that mean for meals eaten together? If you do most of the cooking, can you cook using items you’re allergic to, or do you need to avoid skin contact?
  • Talk to people
    • Ask your doctor, or allergist, or speak with a nutritionist or dietician about maintaining a healthy diet with all the vitamins and minerals you need. Do you have to source supplements? 
    • Speak with your partner(s) or family members about what you’re going through, and think about what that means for yourself as well. I know it’s stressful, especially if you’re doing this in the middle of an elimination diet, or you’re reacting to something, but you have to come to grips with your food. We’ve all got to eat, and we might as well enjoy the experience.
  • Find a blog specific to your allergy!
    • Check out an allergy group on social media, or a website and get tips and support for what you need to look out for! No doubt someone can recommend a food item that’s safe for their use and might work for you as well. Building your pantry should be about minimizing risk and maximizing enjoyment.
  • Once you feel up to it, grab a box and put every item of food to which you’re now allergic inside of it.
    • All that food? If it’s unopened, give it to the nearest food bank. If it’s partially opened, it goes in the trash. Don’t finish something you’re allergic to! I felt tremendous guilt wading through my food and mentally tallying up all the money spent on things I couldn’t eat anymore. But what could I do? I couldn’t just keep eating it. My allergies are part of my new normal, and I had to take control of them by taking control of my food.
  • Make a list
    • What do you like to eat?
    • How can you make it now?
      • Let me tell you, realizing I had to give up a majority of Chinese food I didn’t make myself was a hard moment in this blogger’s life. Whither my Kung Pao Chicken? Whither…literally everything? But I did it. And I figured out what I could feasibly make within the parameters of my new life, bounded by my budget as well as my dietary needs.
    • Make a list of your favorite foods, including the ingredients.
      • Have a breakfast item, a lunch item, and something for dinner. Those foods are what you’re going to base your new pantry on, even if it’s six different ways to eat chicken. You can always add more as you gain confidence, but start small!

No one’s allergy free pantry looks the same, nor should it. Everyone’s allergies and sensitivities are different, and moreover, even those people with the same allergies can have different reactions to an identical product. If you have any concerns about a foodstuff, or you have a severe allergy, please talk over any change in your diet with a medical professional. I can only offer suggestions about foods strategies that work for me, and what works for me might not work for you!

Always play it safe!

That being said, however, if you want an idea of where to start in putting together a pantry of ingredients to pull out, then this is the post for you! Even if you can’t use the brands I mention, you can certainly figure out how to meld my pantry techniques with your food needs.

Honey Lemon Chicken

You know what’s fabulous? Chinese food.

The sheer size of China allows for a breathtaking amount of culinary diversity, from hot and spicy to sweet and delicate. Since we had a big family, we often had to go somewhere that would accommodate a large crowd, and the local Chinese restaurants filled that bill admirably. When I was a kid, I would look at the intricate mooncakes and family style dishes with badly suppressed curiosity.

You just could get so many things! You could order three or four dishes, and they were all something new with flavors I didn’t see at home (I inherited my adventuresome palate from my mom, really. She had a wok and a dream, but the eighties weren’t a great decade for spices in rural Oregon!) But the Chinese restaurants? Absolutely had our backs. Not only that, they had tea in little cups and, I mean, I was a kid, but being out with the family with pretty tea sets and a shared meal felt so delightfully fancy that to this day I gravitate to Chinese restaurants when I feel like a special meal.

Of course, now, most of the menu is off limits to me. Eggs feature in a lot of the dishes, many of the sauces, etc. use cornstarch or actual corn, there’s malt and/or barley in some of the vinegars, and it all uses soy (which I can maybe have once a month and then walk around looking sunburned), and then there’s the surprise peanuts lurking in the garnishes… What used to be fun is now a rather stressful experience requiring a lot of prep work and kitchen communication. So, when I want something to remind me of good times and family outings, I make my own approximation of a Chinese take out!

As you might have noticed, I’m a big fan of chicken and the way it tastes. I also love lemons. The recipe I have today is loosely based on the Orange Chicken recipe from The Woks of Life, a family-run food blog you’ve probably already heard of! And when I say ‘loosely’ I mean ‘exceptionally loosely.’ A ‘glancing acquaintance.’ The ‘We were at school together’ of a common effort at recipe making, because those guys have their culinary act together and I’m just coming up with stuff I like to eat that will please the family and won’t kill me. Or them, really.

So instead of cornstarch, we have tapioca. Instead of breading, I grilled the chicken, and instead of oranges, I used lemon juice. I haven’t been able to find a sesame oil I can use, so I just went with olive oil, and then I reconfigured the spices to meld with what I had on hand, and added some red peppers because I thought they bulked up the meal.

I liked the tangy sauce that resulted, and the way the honey gave the dish a more caramelized flavor. I liked how the spices warmed my stomach and the chicken was tender and juicy (which is difficult when all you have is the chicken breasts you found lodged in the freezer!)

You’ll Need (Serves 2 – 4):

To prepare the chicken:

2 – 4 chicken breasts or thighs, sliced into chunks

1/2 tsp. olive oil

2 tsps. Mirin (I can’t find a Shaoxing wine that works)

1/4 tsp cinnamon

2 cloves crushed garlic

1/4 chopped onions, or 2 tsps. onion powder

Salt and Pepper to taste (I used black pepper, because again, no white pepper yet)

Instructions: Chop up the chicken, and then put it, along with the spices, vegetables, and oils, into a ziplock bag and let it marinate in the fridge for at least 30 minutes to an hour depending on how much chicken you’re using.

For the sauce:

Juice of one whole lemon

1-2 tsps. fish sauce (this and mirin is my substitute for soy)

1/4 cup chicken stock

1-2 tsps. honey

1 tsp. red chili flakes

1 tsp. tapioca starch

Salt and Pepper to taste

Optional:

1 green onion, chopped

1/2 red pepper, chopped

1 – 2 heads of bok choy, chopped

To Make:

Put all the ingredients of your sauce into a bowl and stir in the tapioca starch with a fork. That way you can avoid little bumps of unwanted powder.

Heat a frying pan or wok with some olive oil on medium heat, and add your marinated chicken. Cook the chicken, turning once, until the bottom of the pan begins to develop a crust, and then add your vegetables. After the vegetables begin to soften, but not crisp, add in your sauce and stir gently to cover the meal. Cook everything together until the sauce easily coats the back of your spoon or spatula, and it’s nice and bubbling.

I like to have it with rice and a nice serving of garlic spinach or asparagus. The sharpness of the lemon pairs well with the melting sweetness of the honey, and the dish perks up my rather dreary not-quite-spring week. While it’s nowhere near the skill level of those Chinese restaurants in my memory, I feel like this is a good way to reincorporate the flavors I miss from when I was young. And, hey, if you can go and eat at your local Chinese restaurant today, do it for me, okay? I’ll live vicariously through you!

Orange Mango Ginger Smoothie

I like smoothies. They tide me over as a snack when I’m not feeling hungry enough for lunch, but my blood sugar is tanking, and they’re a nice way to get a bunch of fruit in my diet. Unfortunately, when you have as many allergies as I do, the actual making of said treat can be a little work.

For instance, I can’t have a lot of commercially made juices, whether it’s because of their added vitamins and minerals, or however they process the juice to begin with. So, I’m often stuck making my own, which…arm exercises aside, can be a pain. So, if you’re wondering, the answer is yes, to make one smoothie, I juiced 7 tiny oranges in order to use them up before they went bad. It came out to be about 1 1/3 cup of orange juice and while it was, admittedly, delicious, if you can drink orange juice from a jar? Absolutely go for it! There is no shame in allergy eating, there’s only what you can eat, and what you can’t.

You’ll need (make 1 smoothie):

7 tiny mandarin oranges slowly gaining sentience on your counter

1 handful of mango

1 tsp ground flax seed

1 tsp leftover coconut pulp (optional)

2 Tbsp. cashew yogurt

Ground or minced ginger, to taste

1/2 tsp. honey

1 handful of ice

First off, juice your oranges. I used an ancient tupperware attachment that formerlu belonged to a pitcher (now lost to time) and a bowl, cut the oranges in half, and then just wrung them dry in the cereal bowl. I also then counted it as my exercise for the day, but remember there’s no judging! Anyway, I poured that into a liquid measuring cup every time the bowl got unwieldy. I had some chopped up mango leftover, and tossed that in the blender, before adding in the flax seed, ginger, yogurt, honey, coconut, and ice.

Then, using the orange juice instead of my usual water, I blitzed the entire thing in a blender, and poured it out into a cup. It tasted like summer in a glass, tart and not too heavy, with an underlying sweetness that I didn’t find too cloying. I always like to include ice in my drinks because…well, it may be raining like the dickens for three weeks straight here, but I still love cold drinks. I’m very basic, I know.

This made my grey day a little more bright, and I hope it does for your grey days as well!

Lemon Paprika Chicken

The thing I like about chicken (Besides the fact that blood tests show I am very, very deeply not allergic to it) is its versatility. You can make a chicken in such a variety of ways and to so many tastes and budgets that it becomes the star of any meal.

An entire chicken is an expense–especially these days–but it’s also extremely good value for money. It feeds an entire family for a number of days, and the bones make broth to extend that deliciousness even further. My mother used to make a chicken for work for her (as she says) for at least a week and beyond, and I say good for her!

This is a recipe I make a lot for my family, using spices and herbs I’ve tasted before and can safely consume (the less said about the Smoked Paprika Debacle of 2019 the better!) so I hope you enjoy as it as much as I do.

You’ll Need (serves 4 – 8 people):

1 whole chicken, giblets removed

1 Tbsp. salt

1 Tbsp. black pepper

1 lemon, peeled and halved

3 tsp. paprika

2-3 cloves of garlic

1/2 onion

Olive Oil

1 large baking dish

Preheat your oven to 375F.

Get out a large baking dish and cover the inside with aluminum foil. Pour in a 1/2 tsp. of olive oil.

Take your whole chicken out of its wrapper or bag, and give it a good swipe with some water, and then pat it dry with some paper towels. If you want to make the skin a little more tight, or it’s got some feather remnants, rub the skin with a little salt and then clean it off again (or else the chicken will be too salty!) Now, check inside the chicken for that little bag of giblets. If it’s there, pull it out and set it aside on a napkin.

Place your chicken breast-sides up in the baking dish, and tuck the points of its wings under the body to help prevent burning. If you can’t, don’t worry about it, but it does make cooking a little easier.

Wash your hands! (Always wash your hands multiple times when dealing with chickens. It’s just good food safety practice!)

Peel your lemon, tear it in half, and then put the lemon, the garlic cloves, and the onion up inside the chicken. This will make dinner very flavorful, and imbue the meat from within.

Now, cover the outside of the chicken with the salt, pepper, and paprika. Then, go over the entire top of the chicken with a medium-thick layer of olive oil. Picture about 1/3 of a cup or so.

At this point, if you want, you can slice up some carrots and celery and place them around the chicken. They’ll cook together and make an excellent side dish! I do that often, as you can see from the picture, but I prefer to roast my potatoes in another dish, because I don’t like the texture when they cook alongside the chicken.

Place your baking dish full of chicken into the oven and cook from 1 1/2 to 2 hours at 350F. You’ll know the chicken is cooked when you poke the skin with a fork and the juices run clear. If you have any concerns, shove it back into the oven for fifteen minutes and then check it again. There are no heroes in undercooked chicken! There are only trips to the doctor’s office.

After enough time has passed, take the chicken out of the oven, and set it on a trivet to cool, and let it rest for about 5 minutes. I don’t know why, but letting meat rest out of the oven is supposed to allow it to relax and retain more of the juices still inside the meat. Cut the meat from the bones, and serve with hasselback potatoes or roasted sweet potato bites, and a good helping of peas!

Additional Comments:

If you don’t have a lemon, substitute Lemon Thyme, which gives the chicken a really nice, light flavor

If your supermarket’s butcher cuts up chicken for free, you could do this recipe with half a chicken, or two quarter pieces. Just adjust the cooking time to about an hour, and check on it often

Throw out the oily herbs and vegetables, etc. you cooked with, but pour the cooking liquid left over in the pan into a bowl. You can stick it in the fridge, and then add it to the stock pot when you make broth later!

Vegan Pesto Pasta: The Oregonian Treat

All right, that isn’t a thing, and no one other than me probably remembers that Rice-A-Roni jingle, but the title made me laugh, so I’m using it. Ha!

I’m told traditional pesto has a great deal of cheese in it, and reading the labels of the little jars in the supermarket certainly bears that out. I’ll be honest, I bet it’s fabulous (my mother certainly agrees!) but since I can’t have it, I decided to come up with a version that would taste good to me and my family members whose bodies work properly. It’s been taste-tested numerous times as a quick, easy meal for a weekend lunch or dinner, when all anyone really wants to do is poke someone else until they’ll do the cooking. Got 10 minutes? You got a meal!

You’ll Need (serves 6):

1 bag of fresh spinach, washed and dried

1 big handful of fresh basil leave, washed and dried, or 2 Tbsps. dried basil

1/2 cup sunflower seeds, roasted in their own oil

1-2 large cloves of garlic

Juice from 1/2 of a lemon, or about 2 Tbsps.

Salt and Pepper to taste

Olive Oil (I tend to use 1/3 – 1/2 cup)

Put all the ingredients, except for the oil, into a food processor or blender, and turn the machine on to high. While it’s running, pour in olive oil. If the mixture begins to stick high up the sides, stop the machine, and push down the concoction so the blades can reach it. Turn it back onto high and keep adding olive oil until the whole thing looking like a sauce. Mine didn’t take more than five minutes (and quite possibly less!)

Turn off the machine and taste test it. Is it too sharp? Add more spinach. Does it need more salt? Add some. Sauces are really things that you have to make to your specific taste. I can’t add nutritional yeast to this, as people often do, because I get different answers to my allergy questions from within the same companies. That’s why I add lemon juice for brightness, but if you can eat nutritional yeast, then feel free to add a teaspoon or two for your own pleasure. Tell me how it tastes, I’ve always been curious!

To serve this, I made gluten free pasta. I drained it, and let the hot noodles cook the sauce a little to draw out the flavors. I didn’t reserve any of the pasta liquid, but if you’re eating traditional pasta, then you should absolute keep back a half a cup or so to meld the sauce with the starches.

I like this recipe. It’s got a wonderfully basil overtone, and I think the spinach gives it heft and body. The lemon and garlic give it an entirely unctuous quality, which I know sounds silly, but that’s how it tasted to me. Sometimes I’ll add shrimp if I’m quite hungry, but usually I just eat it plant-based, just as is. It’s lovely hot, or cold the next day.

Additional Comments:

Just to remind you, if you use bagged spinach, there’s a likelihood that you might accidentally have cross-contamination with a corn-based cleaning wash that they use on the loose leaves. If possible, try to get spinach that’s unbagged or from a brand you’ve used before and not reacted to. I also always thoroughly wash my vegetables, regardless if they say they’ve been pre-washed or not. I know it’s a hassle, but I always want people to be as safe as possible. If you have a very sensitive allergy, then this might not help you, but it works for me!

Citrus fruits can often have corn-based wax on their peels in order to lock in their freshness. I’m doing okay just peeling them and only having the juice or pulp. I never use lemon peel.

Hasselback Potatoes: When You Want Fries, but Cutting Them Up Seems Hard

Sometimes I want fried potatoes, but a) can’t because deep frying terrifies me, and b) my lord, does it seem like a lot of work. When in doubt, and when I want to look fancy, but also feel a bit accomplished, I make “Hasselback Potatoes” which are a sort of crossover potato dish. They’re fancier than just plain ol’ baked potatoes, and the slices mean I can stuff just…so much more fake butter and salt than I should. And you can put anything you want on it! Make it vegan and plant-based! Make it paleo or vegetarian with all the cheese in the world. Add bacon and get your carnivore on! It’s your potato! So come with me, theoretical reader, as I show you have to make the one potato dish you’ll ever need for when company calls, or you want to treat yourself to a date for one.

Let me just get out here that I have no idea where this dish came from. Wikipedia has an unsourced accreditation to a Swedish chef (insert muppet here) in 1959, but I only remember hearing about it a couple of years ago…possibly on the Food Network. Regardless of however it came into my life, it is a potato dish, and thus, I will never let it go. I confess I hate the texture of baked potatoes, and love the brazen salt glut of a good pile of fries, and Hasselback potatoes hit me in the happy medium. Also, I made ketchup again, and I needed something to drench in it. (Pity me, it’s a disease!)

For people like me, with a corn allergy, root vegetables like potatoes can be dangerous. They soak up a lot of what’s in the ground, and so if the farmer grows them in the field with corn-based fertilizers or sprays them with corn-based chemicals for shipment, you can run into real trouble. When I buy potatoes in the grocery store, I buy loose potatoes–not bagged–and I try to aim for the dirtiest ones I can find.

I know it sounds weird, but it’s true! The more dirt is on a vegetable, the less likely you are to run into some kind of chemical you might be allergic to, like the sprout inhibitor some potatoes are sprayed with. Always be careful!

You’ll Need (Serves 1):

1 medium sized potato (I like russets or yukon golds)

1/4 cup olive oil

Salt and Pepper to taste

Preheat the oven to 375F, and line a casserole pan with aluminum foil. Then wash and peel your potato, removing any dark spots or hardened eyes you uncover.

To make Hasselback potatoes, take a sharp, heavy knife, and carefully cut slices width-wise down the length of your potato. You want to make each slice approximately as big as teh other for each cooking, and you want to take the knife down almost but not quite cutting through the potato. Be very careful with your knife! I speak as one who has sawed through their thumbnail and lived to regret it.

Decrease the oven to 350F. Put the potato in the casserole dish and cover in oil, salt, and pepper. Cook until a fork can be pushed into the side of the potato easily and come out cleanly (about 45 minutes to an hour). Then add whatever toppings you want! I like salt, pepper, a lot of Miyoko’s fake butter, and a dollop of Forager’s unsweetened plain yogurt.

Fancy Oven-Cooked Steak Dinner

This one’s for my littlest brother, who loves a good steak dinner.  To be frank, I don’t eat a lot of red meat (I think I ate about…half of that steak in the above picture, and then spent the rest of the night groaning about how full I was!) because I spent some real difficult months where my body reacted to all meats that weren’t chicken with severe disapproval. I’ve gotten out of the habit almost entirely by now, and you’re far more likely to find me roasting a chicken or getting a nice piece of salmon. I do know how to cook a steak, however, and since I have family members that can eat what I cannot, I thought I’d share my recipe with you all!

If you have a lot of allergies, as I do, one of the aspects of food prep for any meal is often not simply knowing your ingredients, but know what your ingredients contain. Minced garlic from a jar isn’t simply minced garlic, but water, salt, and/or citric acid (corn!). Ground flour might have been passed through a grinder which just made Masa or TVP (corn and soy, respectively!) Worcestershire sauce might be perfectly fine in one batch, but contain an unfortunate preservative in the next. It’s the same if you’re eating meat.

If you can, ask your butcher if the steak you’re buying comes from corn-fed cows, especially if you’ve got a severe allergy. If it’s not, ask if they’ve been treated with any kind of preservative. Finally, and this one always makes me feel silly, but persevere and be picky! Try for the steak as far away from touching other foods in the display case as possible. You can always wash them later, of course, with cold water and a quick paper towel pat down to dry them, but it’s good to be assured that your meat hasn’t been cuddling up to something to which you might be allergic.

Steak is kind of a fancy meal, in my opinion, which is why I went all out with fancy hasselback potatoes and then brought us back to earth with simple roasted carrots. It’s something to bring out for the holidays and special occasions. I like my steaks to be spiced, but fairly plain, with good fat marbling through the meat. When you’re cooking a steak, the amount of time necessary depends on how thick the cut of meat is. The steak in the picture above is really thick, so rather than risk burning it, I seared on the stovetop and finished it in the oven.

You’ll Need (1-2 servings, depending on appetite!):

1 steak, about 8 oz.

Salt, to taste

Black Pepper, to taste

¼ tsp. garlic powder, or one cut, raw clove for rubbing

¼ tsp. onion powder

1 tsp. olive oil

Take your steak out and coat it in your seasonings on both sides of the meat. If you’re using a raw garlic clove, rub the cut end all over the garlic (don’t be afraid to press down, but don’t leave little pieces of garlic to burn on it). Leave it alone while you heat up a pan on the stove.

Heat the pan on medium until a little bit of water spritzed on the surface makes the droplets skitter and dance. Then rub olive oil on the steak, again on both sides. Turn on your stove’s fan, and/or open a window because it’s about to get steamy and smoky in there!

Preheat your oven to 350F.

You judge the time to cook by the steak’s thickness; I use the rule of my thumb. If the steak is as thick as your thumb, cook it for 2-3 minutes each on both sides. If the steak is thicker, say as thick as the length of your forefinger, cook it for 3-4 minutes on either side in your pan.

If you’re using an oven-safe pan, transfer the whole thing into the oven and cook it for around 10-20 minutes, depending on how rare you want your meat. If you’re not using an oven-safe pan, then you can use a jelly roll pan covered in aluminum foil or any tray with a lip to cook the meat for the same amount of time. I don’t recommend using a casserole dish, because the sides are too big and might trap moisture you don’t want.

Take the meat out and rest it for 10-15 minutes.  Then get out a good strong knife and serve!

Building Block: Cashew Milk!

I never thought I would be the sort of person to make my own alternative milk (I tried, but I’m secretly twelve and saying ‘nut milk’ makes me giggle), but here we are! Like a lot of people with multiple food allergies, certain staples are beyond me not because of their base ingredients, but due to their additives.

Milk made from almonds, or cashews, or any kind of ingredient like that usually contains vitamins and thickeners to help disguise their original texture and make it ‘feel’ more like milk when we drink it. The problem for me lies in the carrier oils that get that vitamin E into the drink. I can’t say for certain, because most companies don’t dive so deeply into their ingredients lists to post the ingredients of their ingredients (if you get me. That was a clear overuse of the word ‘ingredients’)

So when I turn red and get a bit tender around the face, I have to go back to my old friend: Square One and restrict my diet to see if I’ve added something new to my diet that my body doesn’t like or…the company has changed its recipe (dunh dunh Dunh!) After you do this a couple or ten times, the novelty has a way of wearing off.

Which is why I began making my own alternative milk on my own. In my own house! I feel like a Tudor housewife in far more comfortable clothing. However, with a corn allergy, I should note that you need to be careful where you source your nuts. If you have a more severe allergy, you might get bit by how the nuts are harvested/processes, and even the packaging.

To combat this, I went with a brand I’ve eaten before, and which I more or less trust in terms of packaging consistency. I also always rinse my nuts before I start turning them into milk. I don’t know if that helps, but it certainly can’t hurt, and it makes me feel better. The one thing I’ve learned while Eating Allergic is that I need to take the steps that make me feel more secure. If I don’t, who will?

This is cashew milk, which has a mild, delightfully luxurious density and flavor. I like it better than almond milk (too bitter) and I think the texture is leagues above too-watery rice milk. I use it in my coffee in the morning, and for baking.

You’ll Need (Makes 4 cups):

1 cup raw cashews

2 cups cold water (to soak)

1 tsp Honey (or to taste)

½ tsp kosher salt (or to taste)

4 cups cold water (to blend)

Rinse 1 cup of raw cashews, and then put them in a bowl with 2 cups of cold water to soak either for at least 6 hours, or overnight. I prefer overnight, but you do you!

In the morning, drain the water from the cashews, and blend together ½ cup of the cashews with the honey and 1 cup of the water until the nuts are completely blitzed. Pour into a separate bowl or jug with a lid, and repeat the blending with the next ½ cup of cashews and another cup of cold water.

Add the last cup of blitzed cashews into your bowl or jug, and then mix in the last two cups of water. I think this has the texture of a higher fat milk, but I honestly don’t remember what milk tastes like, so your mileage may vary. You can make the milk lighter or thicker depending on the amount of water you use in the recipe. This amount lasts me about a week, or week and a half, and I find it easily scalable for when I need more milk in a recipe.

Additional Comments:

  • I don’t sieve my milk, because I don’t mind the particles leftover from blending, but if you do, then I recommend putting it through a drip coffee filter (let gravity do the work!) or buying some cheesecloth and pouring the blended nuts and water through the cloth prior to adding the last two cups of water, and then squeezing very gently and carefully.
  • You can also definitely use those blitzed particles in a different recipe! Spread it carefully on parchment paper on a tray with a lid. Dry it out in an oven at about 250F and it can be added to GF flours while baking, or used as part of a brittle, and even a pie crust! Just be careful about the amount of liquid
  • I believe you can use this recipe for any kind of raw nut with which you want to try making into an alternative milk, or white rice (I don’t know about brown). Just make sure the nuts are raw!