Quick Time Tomato Sauce

Got thirty minutes and some tomatoes burning a hole in your fridge? I have a sauce for that!

Now, I will be honest, this isn’t a fancy sauce. It’s straight up tomato sauce meant to clear space in the fridge and create a quick, hearty meal with maybe three or four ingredients total (not counting the herbs). Which is to say, I think of this sauce as a base for any kind of vegetables or meat that I have leftover, or that maybe wouldn’t be great served on its own, but lets face it: Almost everything is better slapped onto pasta.

This sauce is great for a quick dinner solution. I have a weirdly hard time eating up raw tomatoes, but stick them in a salsa or a sauce and I can slurp it up like nobodies business. The way I make it is very simple, gluten-free, and vegan, but you could add anything you’d like to it to personalize this tomato sauce into your own special treat!

You’ll Need (serves 2 – 4):

1 lb grape tomatoes, or 4-5 medium tomatoes

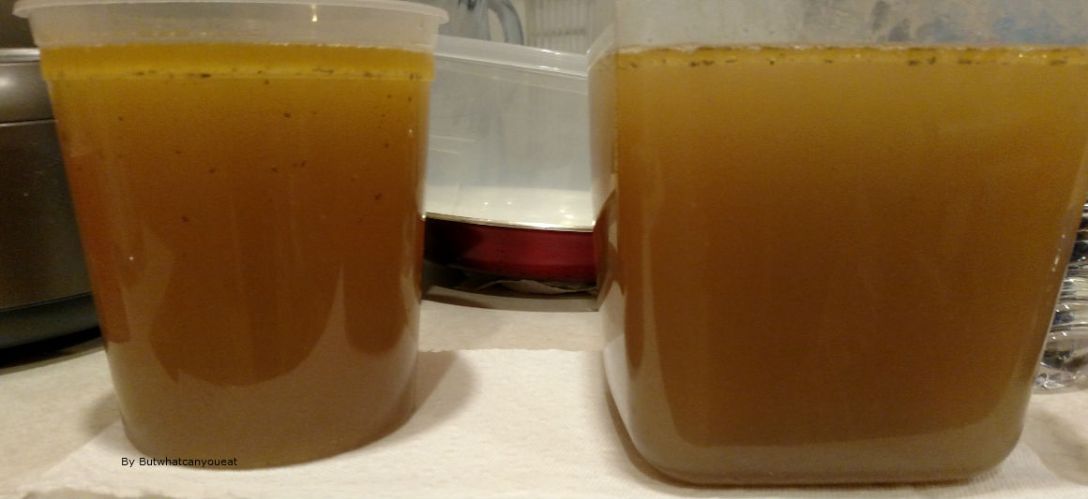
Around 3 cups of water (or stock)

2 tsps salt (and then more to taste)

2 tsps pepper (and then more to taste)

2-4 cloves of garlic, or 2 tsps. garlic powder

1/4 cup chopped onions, or 2 tsps onion powder

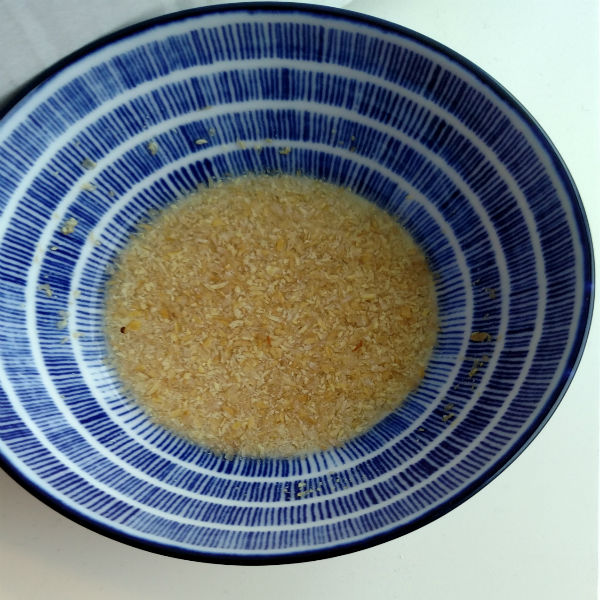
1 carrot, finely shredded

2 tsps parsley

2 tsps oregano

2 tsps basil

Make sure all your vegetables are thoroughly rinsed! This is no time to be cavalier with hygiene, especially if you’ve got food allergies. I have been doing okay with store bought veggies, but stick with a brand you know you can eat safely, either from the store or a farm.

Get out a large saucepan and add your vegetables all in with the water, salt, and pepper. Be liberal with the salt at this stage, because you’ll want to be stingy afterward, and the salt in the water here will flavor your sauce. The water should be about level with the tops of the tomatoes. Turn the burner to medium or medium-low, and bring it up to a soft boil for about fifteen minutes, or whenever the tomatoes start to burst their skins. Take the saucepan off the heat, and let it cool down for a minute.

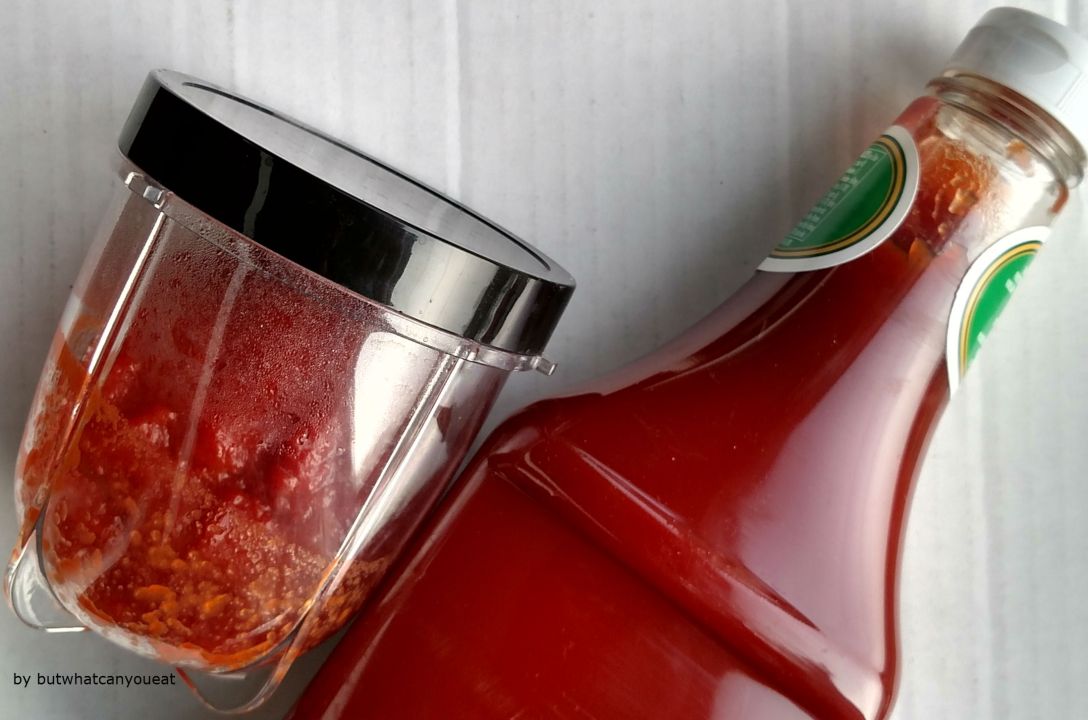
Toss the entire thing, veggies, water and all, into a blender, and blend it until smooth. If you have a small blender, like I do, just blend it in shifts until everything looks…well, until it looks like a sauce. I like it smooth, but if you want it a bit chunky, then I’m not gonna fault you!

Return the frothy sauce mix to the sauce pan and stir in the herbs. Remember that this is going to boil down by half, so when you taste it, don’t be alarmed if it’s not as flavorful as you might expect. Turn the burner on to about medium-low, and reduce by half, or when it reaches the kind of consistency you like in a tomato sauce, stirring occasionally. Taste it before serving to see if it needs any salt or pepper. It shouldn’t take more than thirty minutes or so, from start to finish!

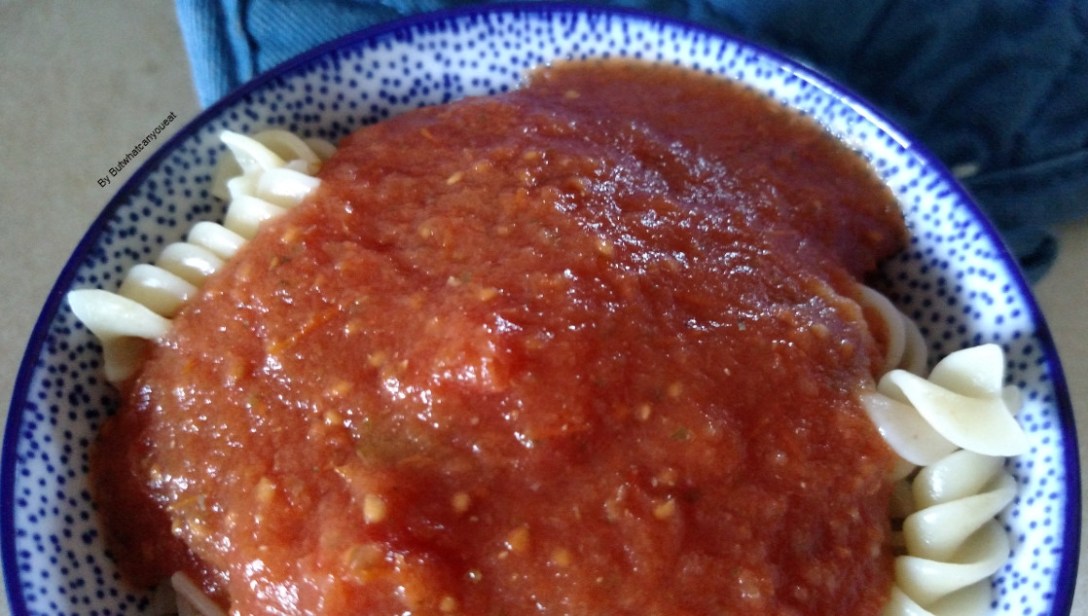
I chose to pair this with pasta for a quick and filling dinner, but you could easily add this to bulk up a soup, or as a dip for garlic bread. I hope you like it!

Additional Comments:

  • If you are having difficulty sourcing safe food, and need to find a CSA in your area, the USDA has a directory here.
  • If you’re using stock, please make sure to decrease the amount of salt you use, or risk the entire sauce tasting like the ocean!
  • You’ll notice I don’t have any sugar in here. That’s because I’m hesitant to add sugar to savory foods. My workaround for cutting the acid in the tomatoes is the finely grated carrot, which adds a nice layer of sweetness and texture to the sauce. I grate it using my microplane, but you can also just use a regular grater, or chop it up and then blend it with the tomatoes. The choice is yours!
  • A note about sieving: This recipe leaves the tomato skins in, rather than taking them out. If that texture bothers you, and you have a little time, when the sauce is still in the blender, ladle the sauce back into the pan through a sieve. That will get rid of the skins, and will also smooth out the sauce even further.

Building Block: Chicken Broth!

Sheltering in place? Self-isolating? Working from home like you always do? Or, my favorite floating around twitter, merely “exiled to your country estate for the good of the realm?” (No idea who started that, but I like it.) Make broth!

It’s what I’m doing anyway (in between laundry, sweeping, and writing!). If you’ve got time on your hands at home and you need something that is easily freezable, healthy, and soothing to the stomach, then now is the perfect time to start making broth. In our house, it’s usually chicken, since I always have bones and some vegetal odds and ends in the fridge.

I know there are fancier recipes out there, and it seems like everyone has their own personal broth recipe. It can get bewildering! Which one is best? Which one is the most healthy? I don’t really have the answer to that, but I can tell you what I think. To wit, the best broth is the easiest. It should meet your needs for taste and content, and it shouldn’t take a ton of your attention. You should be able to put it in a large pot, turn the heat to medium-low and forget about it for an hour or so.

My recipe for broth works for my family. I find it flavorful, nourishing, and really good for when I don’t feel well, or I need a quick meal. I generally make a huge amount and then freeze some, or use it up throughout the week. Please think of it as a starting recipe, and adjust for your or your family’s needs accordingly!

You’ll Need (Serves 4-8):

1-2 chicken carcasses (I know people who get whole chickens just for broth. I do not understand that, but it must be nice to have money. Just use leftovers!)

1 small knob of ginger, peeled, or 2 tsps. ground

2 tsps. lemongrass, or 1 handful of lemon thyme

3 cloves garlic

1/2 onion

1 tsp. sage

Salt and Pepper

2 stalks of celery

2 medium carrots

1 small handful of parsley (optional)

1 tsp olive oil

Stick all your ingredients into a large pot and let it heat on medium until you hear it begin to sizzle and a slight crust forms on the bottom of the pot. Add a little water and scrape up the crust. Fill the pot with water until it covers all your ingredients, and then let it come to a slight boil. Once it starts to bubble up, decrease the heat to medium-low or medium. You want the top to be bubbling, but not a fast or rolling boil. Leave it for one-two hours or until the water turns into a deep golden broth. I generally let the water boil down by half, because I want to make sure the collagen comes out of the bones and forms that healthy ‘jelly-like’ texture you see in bone broth.

Remove the pot from the heat and let it cool down, and then strain the ingredients out, and pour the broth into lidded tupperware or glass. Let it cool for about five minutes on the counter, and then sling it in the fridge. Basically, anything with a lid. If you want to freeze some, always remember to refrigerate first! Let it cool completely in the fridge to avoid bacterial growth once you start lowering the temperature.

Then, make soup, make rice with it, make a fantastically yummy sauce! We’re all stuck in our houses in the interests of our loved ones and our community. Take a moment to make yourself something nice, and if you have to go out, remember to take care of yourself!

Additional Comments:

  • Lots of people tell you to sieve off the foam that appears when the bones are heated. I never do! It doesn’t matter, and I can’t be bothered. Removing it will make the broth more clear, but I honestly don’t see the point and can’t taste the difference. As a person allergic to eggs, clear broths are rather my nemesis, as a common way to get that clarity is with an egg white ‘float’ to catch all the stray proteins. Always ask if you’re not sure!
  • I sometimes have this for breakfast either to jazz up leftovers (which is what I usually have for breakfast) or as a great way to make a smoother mashed root vegetable puree

Building Block: Cashew Milk!

I never thought I would be the sort of person to make my own alternative milk (I tried, but I’m secretly twelve and saying ‘nut milk’ makes me giggle), but here we are! Like a lot of people with multiple food allergies, certain staples are beyond me not because of their base ingredients, but due to their additives.

Milk made from almonds, or cashews, or any kind of ingredient like that usually contains vitamins and thickeners to help disguise their original texture and make it ‘feel’ more like milk when we drink it. The problem for me lies in the carrier oils that get that vitamin E into the drink. I can’t say for certain, because most companies don’t dive so deeply into their ingredients lists to post the ingredients of their ingredients (if you get me. That was a clear overuse of the word ‘ingredients’)

So when I turn red and get a bit tender around the face, I have to go back to my old friend: Square One and restrict my diet to see if I’ve added something new to my diet that my body doesn’t like or…the company has changed its recipe (dunh dunh Dunh!) After you do this a couple or ten times, the novelty has a way of wearing off.

Which is why I began making my own alternative milk on my own. In my own house! I feel like a Tudor housewife in far more comfortable clothing. However, with a corn allergy, I should note that you need to be careful where you source your nuts. If you have a more severe allergy, you might get bit by how the nuts are harvested/processes, and even the packaging.

To combat this, I went with a brand I’ve eaten before, and which I more or less trust in terms of packaging consistency. I also always rinse my nuts before I start turning them into milk. I don’t know if that helps, but it certainly can’t hurt, and it makes me feel better. The one thing I’ve learned while Eating Allergic is that I need to take the steps that make me feel more secure. If I don’t, who will?

This is cashew milk, which has a mild, delightfully luxurious density and flavor. I like it better than almond milk (too bitter) and I think the texture is leagues above too-watery rice milk. I use it in my coffee in the morning, and for baking.

You’ll Need (Makes 4 cups):

1 cup raw cashews

2 cups cold water (to soak)

1 tsp Honey (or to taste)

½ tsp kosher salt (or to taste)

4 cups cold water (to blend)

Rinse 1 cup of raw cashews, and then put them in a bowl with 2 cups of cold water to soak either for at least 6 hours, or overnight. I prefer overnight, but you do you!

In the morning, drain the water from the cashews, and blend together ½ cup of the cashews with the honey and 1 cup of the water until the nuts are completely blitzed. Pour into a separate bowl or jug with a lid, and repeat the blending with the next ½ cup of cashews and another cup of cold water.

Add the last cup of blitzed cashews into your bowl or jug, and then mix in the last two cups of water. I think this has the texture of a higher fat milk, but I honestly don’t remember what milk tastes like, so your mileage may vary. You can make the milk lighter or thicker depending on the amount of water you use in the recipe. This amount lasts me about a week, or week and a half, and I find it easily scalable for when I need more milk in a recipe.

Additional Comments:

  • I don’t sieve my milk, because I don’t mind the particles leftover from blending, but if you do, then I recommend putting it through a drip coffee filter (let gravity do the work!) or buying some cheesecloth and pouring the blended nuts and water through the cloth prior to adding the last two cups of water, and then squeezing very gently and carefully.
  • You can also definitely use those blitzed particles in a different recipe! Spread it carefully on parchment paper on a tray with a lid. Dry it out in an oven at about 250F and it can be added to GF flours while baking, or used as part of a brittle, and even a pie crust! Just be careful about the amount of liquid
  • I believe you can use this recipe for any kind of raw nut with which you want to try making into an alternative milk, or white rice (I don’t know about brown). Just make sure the nuts are raw!

Building Block: Homemade Tomato Ketchup

If you have an allergy, shopping at the supermarket can be a little more fraught with pitfalls than your average consumer, and you can’t always escape that desperate scroll through a laundry list of ingredients by going to a farmer’s market or signing on for a CSA. A lot can depend on how a food item is stored or processed, what it’s been sprayed with, and even what field the food is near (I’m looking at you, raw honey!). In short, finding food that’s safe for you and your family when there’s a food allergy in play can be a lot of ‘trial’ as well as the horrible frustration of a whole lot of ‘error.’

How this works out for me, is that there are many store-made foods I just can’t have, even when the ingredients list works in my favor. Soup stock, alternative milks, and many condiments are on this list, and even though I’m still trying to find some of these items, there is simply no guarantee that I’ll succeed.

Thus, I have brought to you today….a recipe for ketchup! No, I know! Actual ketchup! It’s a thing you can make!  I was also surprised. There are just some foods that you don’t think about cooking up until fate or craving sort of forces you into scouring your bookshelf for incredibly old recipes.

Many of those recipes resembled something more like the Brown Sauce you find in the UK, or like a thickened version of Worcestershire Sauce which wasn’t what I wanted at all. In my head, ketchup is a tomato-based delight, slightly sweet, but with an underlying tart saltiness and a smooth thickened texture. I wanted a sauce I could drag a fry through and have it come out clinging to the potato rather than drip off the side, if you know what I mean.

Finally, I settled on an approximation of all the recipes I had seen, only drastically reduced because if I failed at this recipe, I didn’t want to be saddled with cup after cup of some nasty tasting marinara. So I made some substitutions, did some highly suspect math, and complained endlessly to my friends via text that I was going to burn my ketchup like some city slicker who just arrived on the prairie. I could sense the ghosts of my ancestors rising up to judge me (my grandmother, in particular, just wanted me to keep trying with store-bought.)

Short story, I did not burn anything! (I did take about a ½ inch of skin off my ring finger, but that’s an unrelated incident). And the result was…ketchup! Actual, real-tasting, tried and true tomato ketchup! I felt so accomplished, I can’t even tell you.

But it also impressed upon me how much time and investment making ketchup is. A little over two pounds of tomatoes produced ½ cup of actual ketchup. All the recipes I found called for immense amounts of ingredients, at a cost today which most people (including me) might honestly find prohibitive, not just in money, but in time spent cooking. That’s the trade off with a lot of allergy-friendly products: what others can just pluck off the shelf, we have to devote time and thought and money to achieving.

So this is my admittedly delicious, but scaled down recipe for tomato ketchup. It’s easily adjusted to create more, but I honestly recommend creating a small batch of the stuff—as I did—to make sure you like the flavor and want to devote the time to making the product. I think making this recipe greatly increased my confidence in the kitchen (I made a condiment! Me!). It feels really good to know that I can still have something, even if all the store-bought varieties so far make me itch.

You’ll Need (serves 1):

~2 lbs. tomatoes

water, for boiling

¼ cup apple cider vinegar

1 large clove garlic

1 tsp. white sugar

¾ tsp. salt

1/8 tsp. nutmeg

¼ tsp. onion powder

1/8 tsp. paprika

Wash your tomatoes and add them to a large pot with a lid. Pour in enough water to cover the tomatoes, and then bring them to boil on the stove top. Once the tomatoes have split, remove from the stove and drain the water.

Using a fine mesh strainer and a spoon, or a berry press, press the juice and pulp out of the tomatoes back into the pot you just used. Make sure to scrape the bottom of the strainer to get all the good stuff!  Add in all the rest of the ingredients, and then reduce the sauce on low to medium-low for three hours, or until the sauce resembles ketchup. It should be thick enough to part with a spoon and it should definitely stick to the back of said utensil. Stir frequently to make sure that the sugars don’t burn. Allow it to cool completely before putting it into the refrigerator.

Additional Comment:

Around 2 lbs. of tomatoes yielded ½ cup of ketchup.

If you’re scaling up this recipe, please remember that this is a heavily reduced condiment so all the flavors will be quite concentrated. Less is definitely more!  Also, if you’re worried about the amount of nutmeg, try substituting with mace instead.

Building Block: The Flax Egg

One of the more difficult parts of baking and cooking when you’re allergic to a staple is finding a reasonable way to salvage the binding capabilities of the egg into something less likely to make your throat close. Fortunately, there’s flax. The flax egg is a workhorse in the world of food substitutions: It does its job and it does it well.

Flax is also known as Linseed, and it’s an herbaceous plant used for food and for clothing. I used to see it dousing cut up banana pieces at the supermarket in a misguided attempt to get two sales for the cost of one free sample, but I never indulged. The very things that make flax a good healthy food ingredient are the same things that make it incredibly unappetizing to look at. To whit, it’s brown, it’s gummy, and it sticks to things.

Ground flax really shines in baking, where I can whip together a flax ‘egg’ and set it aside to gel while I put together the rest of my ingredients. It works for pancakes, cookies, casseroles and sauces, though there are alternatives such as tapioca or arrowroot powder if you don’t want the little brown flecks it leaves in the food. I store my ground flax in the freezer (it keeps longer) after opening, and dole it out as needed!

Making a vegan, gluten-free, plant-based egg to cook with turns out to be incredibly simple! It’s a 1:1 substitution for traditional eggs, and I’ve never had any trouble baking with them. (I don’t recommend it for things like Pavlovas, or as a substitute in mousse however. There simply isn’t enough air in a flax egg for those types of dishes)

You’ll need (1 egg):

1 Tbsp. ground flax

3 Tbsp. cold water

Put the flax and the water into a small bowl, give it a little stir, and then set it aside to congeal into a gel for about 10-15 minutes. After that, you can add it to cookies, cakes, and pie crusts with no problems at all! Once you have this basic substitution in your wheelhouse, you’ll be cranking out the baked goods in no time.

My content will always be free, but if you like my recipes and have something to spare, please consider sending me a tip!