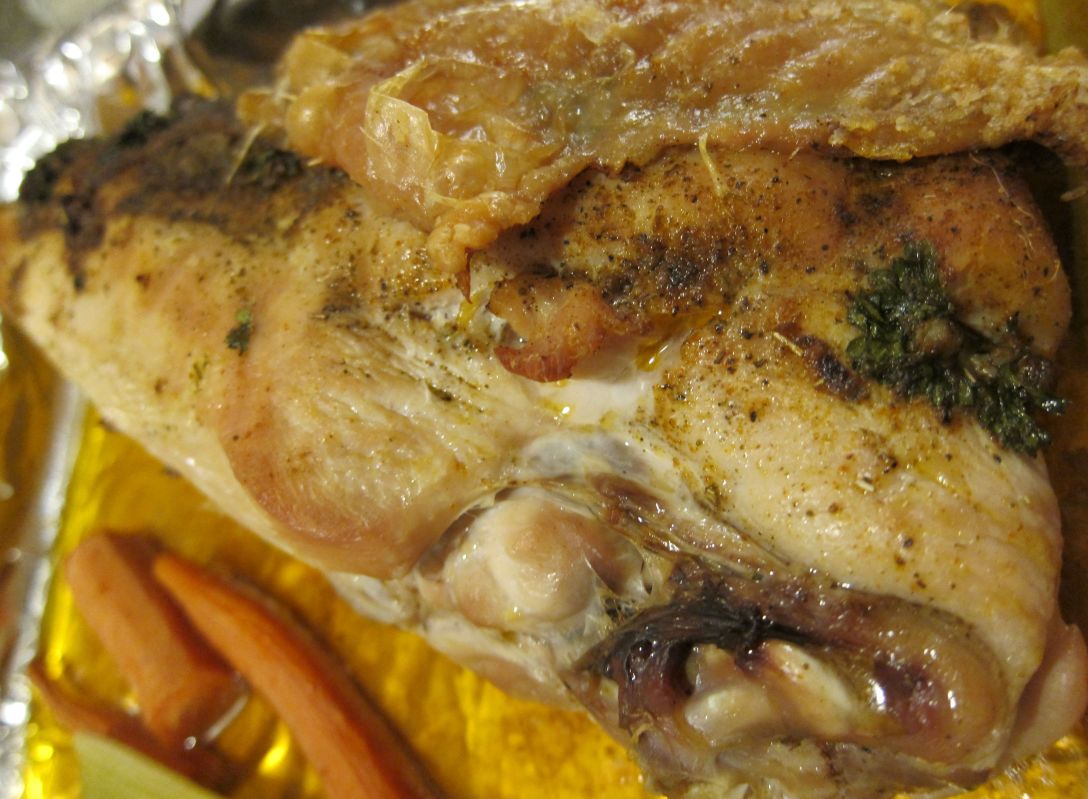
Not surprisingly, when I made lamb stew, two days later I had leftover lamb stew, about enough for one person to have a small bowl, and no inclination to be athletic in the kitchen. This isn’t surprising on a Saturday, so as I stared at the insides of the fridge, vaguely warning myself that I was letting all the cold air out (did your parents tell you that, too, as a child? Some things you can never quite leave behind you), I sort of aimlessly decided that lamb was too expensive to go to waste. I had a potato, and I had some fake butter, time to make a pie!
Well,
not a real pie. I mean ‘pie’ like the British make them: savory and with
potatoes. Shepherd’s Pie is one of those recipes that everyone should have on
hand to make up a warm, solid meal without too much fuss and to get rid of all
those leftover vegetables you wind up with. It’s tasty, it’s easily stretched
from two people to a feast with barely any math involved, and it stays in the
oven, heating your entire house and making it smell like a medieval kitchen.
Culinary cosplay is nothing to be ashamed of! Sure, technically, I wouldn’t
have survived the Middle Ages with my allergies, but this is my pretend world,
and if I say Eleanor of Aquitaine ate allergy-free, she did!
If you don’t hang around a state with a lot of sheep, Shepherd’s Pie is a meat dish, full of vegetables, topped with a crispy, buttery, mashed potato topper that you cook separately, and then bake into a textural melting pot in the oven. It takes a lot of (fake) butter, not as many potatoes as you might think, and uses up all those vegetal odds and ends you wind up with after a while. Texturally, I think you get more for your buck with chopped meat than you do with ground, but it’s perfectly acceptable to substitute one for the other. If you’re a vegan or a vegetarian, jettisoning the meat means introducing more root vegetables than just the mashed potato, such as rutabagas, turnips, or parsnips. You could also use lentils, chickpeas, borlotti or kidney beans. It’s winter! Think like a Hobbit.
The prep for this recipe comes from the fact that you cook the pie filling before you make the pie. That makes less clean up and cook time in the oven later on, because it decreases the amount of water that has to steam away in the oven. The enemy of a good pie is too much liquid! Trust me, you don’t want anything boiling over in there; this is supposed to decrease your work, not cause you back pain from scraping out the oven. So cook it down for a little bit before you put the pie together.
I
also have to make my own mashed potatoes since I don’t want to try a commercial
ready-made brand that might come into contact with a variety of my allergies.
For a corn allergy, I know I’m pushing it because people have gotten a reaction
from root vegetables that grow in corn-treated soil (the fertilizer, the
sprays, take your pick). So far, I’ve done very well with the root vegetables
I’ve used from my local grocery store, but always be safe! Substitute what you
can’t eat with things you can! Remember,
everyone reacts differently to food when you have an allergy.
For
those of you who don’t have leftover stew (probably most of you) I wanted to
share my recipe for Shepherd’s Pie starting from the top. This is one of those
hurry up and wait dishes, perfect for the weekend with leftovers for lunch the
next day, or for when you have to feed many people all at once with a minimum
of complaining.
You’ll
Need (Serves 2-3):
Pie
Ingredients:
2
carrots, chopped small
2
celery stalks, chopped small
1
cup lamb, chopped or ground, or an equivalent amount of root vegetables or
legumes
1
onion, chopped small
1/2
cup peas
2
cloves garlic, smashed and chopped
1
small bay leaf
2
tsp. rosemary
2
tsp. thyme
2
Tbsp. parsley
2
tsp. paprika
Salt
and Pepper to taste
2
tsp. olive oil
1-1
1/2 cups lamb broth or water
1-2
tsp. tapioca flour (optional)
To
Make:
Heat
olive oil in a large pot at medium-low and add in the herbs/spices to fry them
up a bit. Add the meat to brown it and make sure to add salt and pepper as
well. Lamb has a lot of fat to it, so if you don’t want it all, remove the meat
from the pot, and drain out the excess oil before returning the pot to the
stove, turning it on and starting to soften the vegetables.
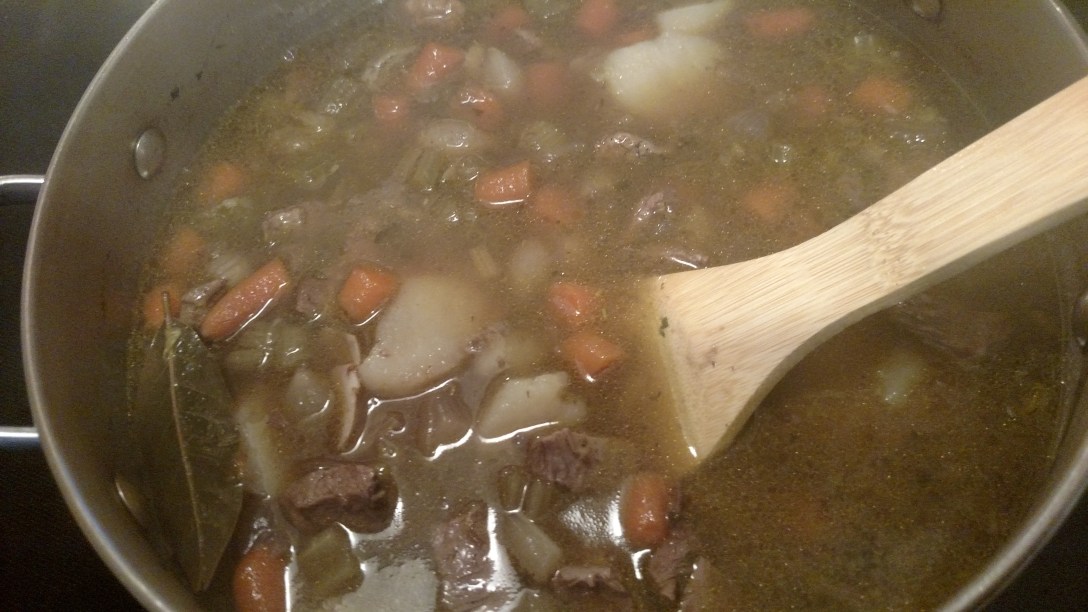
Add
all the vegetables except the peas in with the meat and cook them, stirring
sometimes, until the vegetables start to feel soft and the onions are
translucent. I always add the garlic about two minutes before I add the broth
to keep it from burning. Once a little scrapable stuff develops on the bottom
of the pot, deglaze the whole thing with the broth or water, and leave it to
cook down for about twenty minutes.
If
you’re adding the tapioca flour, keep a little broth back to mix the flour into
a slurry before adding it to the pot. That way you won’t get little lumps of
flour in the pie filling.
Turn
the heat to medium and let the mixture bubble up a little bit. No violently
roiling boils here! Just polite penny-sized bubbles easily broken by your spoon
as you stir it to make sure nothing sticks to the bottom.
Once
the filling has reduced enough that it looks like meat and vegetables in a
gravy that covers the back of your spoon, take out the bay leaf. Choose an ovenproof
casserole dish big enough for your filling and carefully ladle the stew out of
the pot. The ideal amount is that the stew hits the halfway mark on the dish,
but don’t worry about it. Add the peas, and leave the pie filling alone as you
make your mashed potatoes for the topping.
Mashed
Potato Topper:
1
large russet potato or sweet potato, or 4 small potatoes
5 Tbsp. fake or real butter (I use Miyoko’s)
4
cups water to cook the potatoes in
Salt
and Pepper to taste
To
make:
First
off, give your potatoes a good wash in the sink. I’d say scrub, but since we’re
in the army now and peeling these potatoes, it doesn’t really matter. Peel the
potatoes and dig out any dark spots or eyes. Set a pot with the four cups of
water on the stove at medium. To make the potato cook faster, chop it up.
Potatoes are really slippery, so in order to be safe, I hold my knife at a
forty-five degree angle, and turn my potato over and over each time I make a
cut, which makes the pieces of a uniform size and shape. Add the potatoes and salt to the water and
let them boil, stirring occasionally so it doesn’t bubble over. The potatoes
are done when you can stick a fork in them without resistance.
Drain
the potatoes, leaving a tablespoon of starchy water in the bottom. Add salt,
pepper, and 3 Tbsp. of fake butter to the pieces, and then mash them smooth. Do
not be afraid! Use a masher, use a fork,
and just smash those potatoes into submission.
To
assemble the pie:
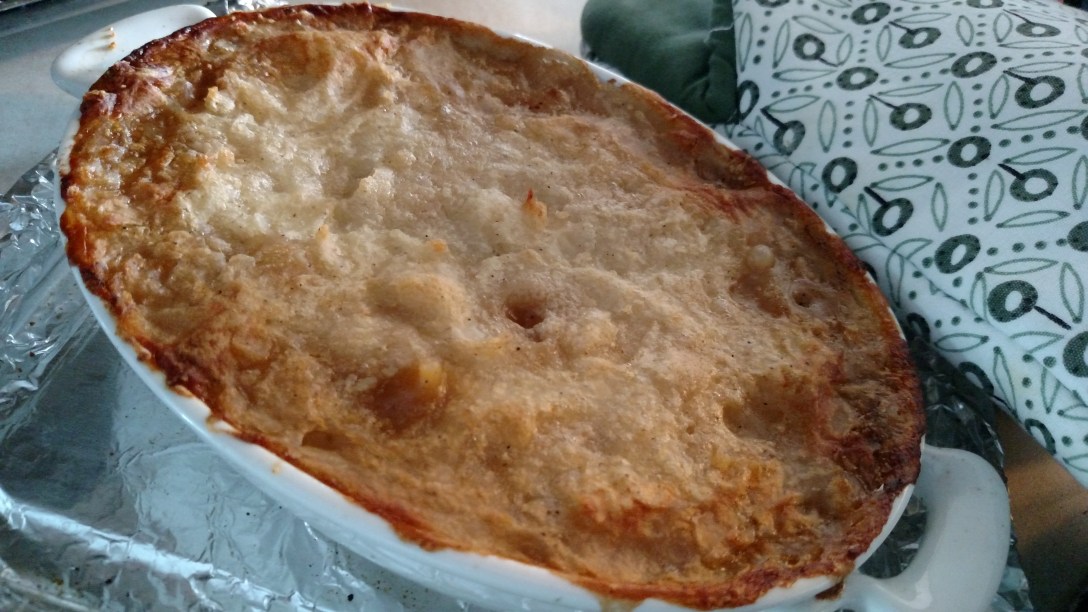
Preheat
your oven to 375F. Spoon heaping portions of mashed potato on top of your
filling, and carefully smooth the top out to the sides to make it look more
like a pie and less like a savory ice cream sundae. Quarter two tablespoons of
fake butter and push the pieces strategically into the top so that it will melt
and make a crispy, buttery texture. Take a butter knife and make four steam
holes in the top of the pie, then set the dish on to a baking sheet covered in
foil in case it boils over, and put the whole shebang into the oven.
To
make:
Decrease
the temperature of the oven to 350F, and cook until the pie is brown and
bubbling and you can see crisp bits on the top and smell the cooking food. Once
cooked, take it out, and let it cool for a few minutes or serve immediately.
Takes about 45 minutes to an hour.
My content will always be free, but if you like my recipes and have something to spare, please consider sending me a tip!